Friday, December 7, 2012

New England Boiled Dinner and Corned Beef Hash

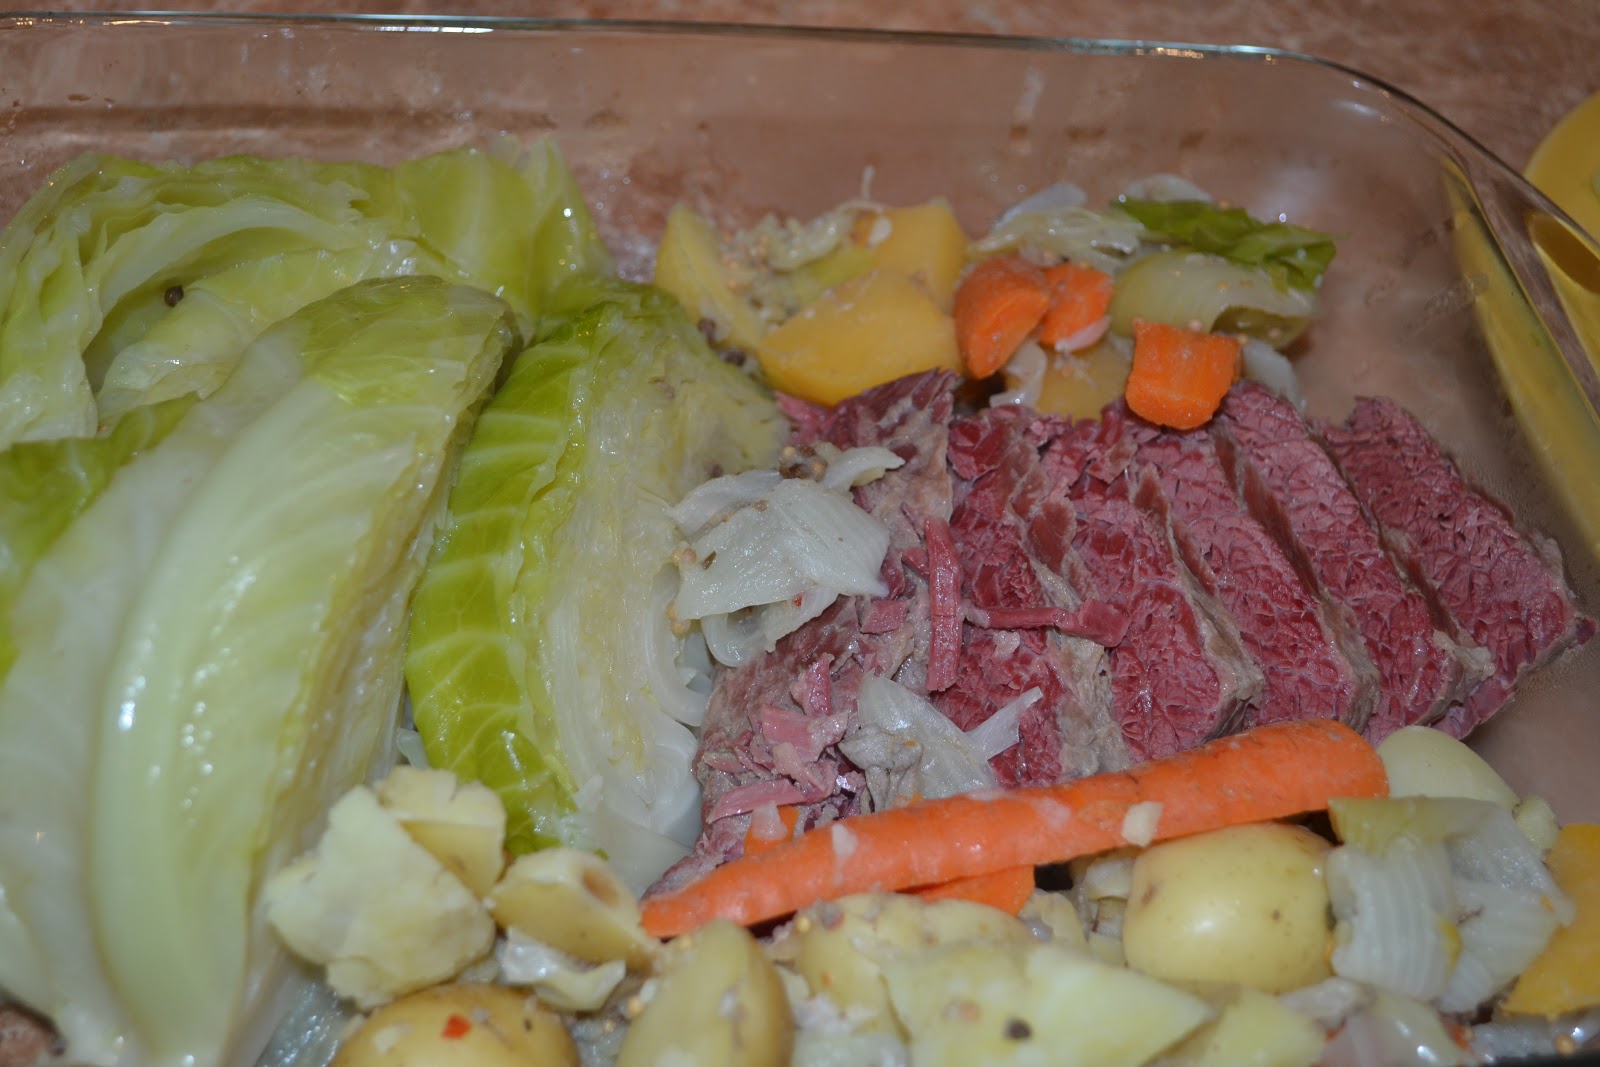
Corned Beef with Winter Vegetables.
In the winter months, when the cold and darkness set in, I tend to make bigger, heartier meals that we can eat for a few days. Maybe it's just the weather, but I prefer to curl up on the couch with a book and some tea, rather than spend my evenings over the stove. Big, flavorful, yet simple dishes that pack a punch are the best way to ensure I get my quality reading time in front of the heater. With a big hot pot of "New England Boiled Dinner" or what my family just calls "Corned Beef and Cabbage," you can slink away to your favorite chair and curl up with a book day or night. Easily transform this yummy dish into breakfast the following morning for the best Corned Beef Hash you'll ever lay your hands on.


If you're feeling motivated, you can cure your own corned beef. I buy mine already cured with the spice packet included. The addition of a bottle of beer to your pot with help even out flavors while tenderizing your meat. I add rutabaga to cut through the rich, musky taste of the cured beef with some earthiness and finish with a dollop of Dejon mustard. Parsnips and brussel sprouts can be added or substituted as well.

Recipe:


Makes 6-8 servings

One large soup pot with a lid

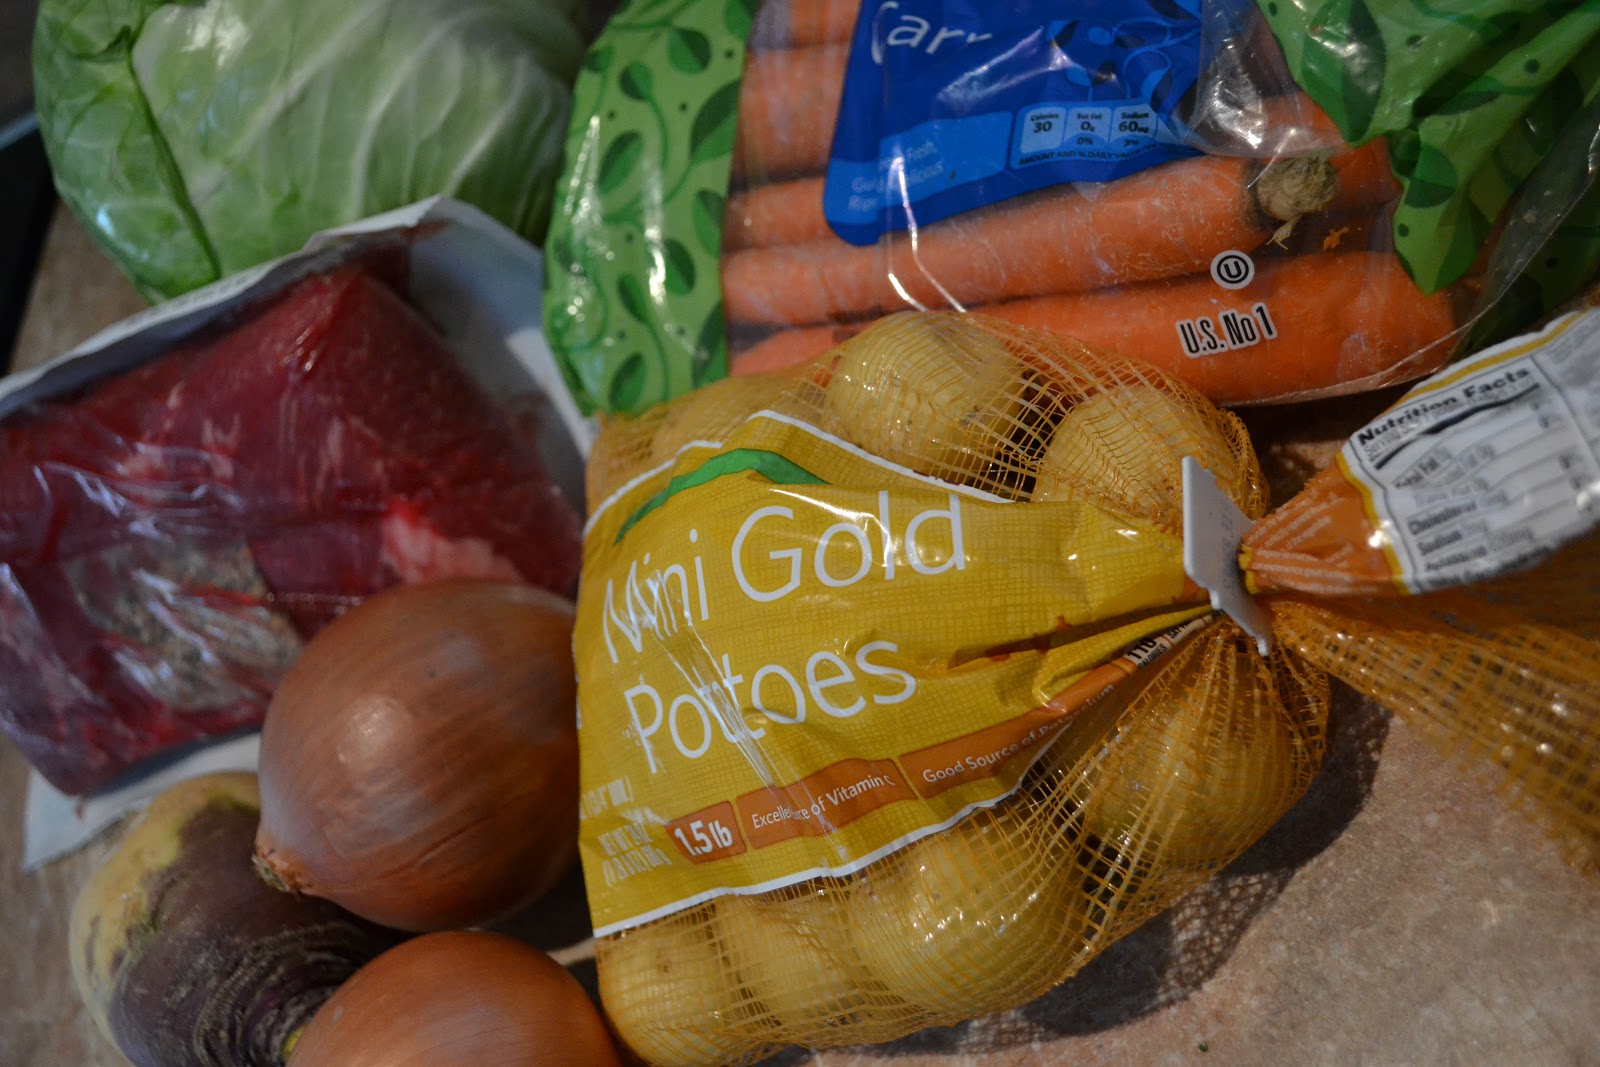
1-2lb Corned Beef Brisket with spice packet

1 Bottle of your favorite Beer (optional)

2 cloves Garlic, crushed

1 medium Onion, coarsley chopped

1 medium Rutabaga, sliced 1 inch thick and quartered

6-8 Mini gold potatoes, halved

5-7 Carrots, sliced down the center, chopped in half

1 medium Head of cabbage, cut into 6-8 wedges

Missing the spice packet or prefer fresh spices?

8 Allspice berries

1 teaspoon Black peppercorns

2 Bay leaves, crushed

1/2 teaspoon  dry Thyme or 2 sprigs fresh


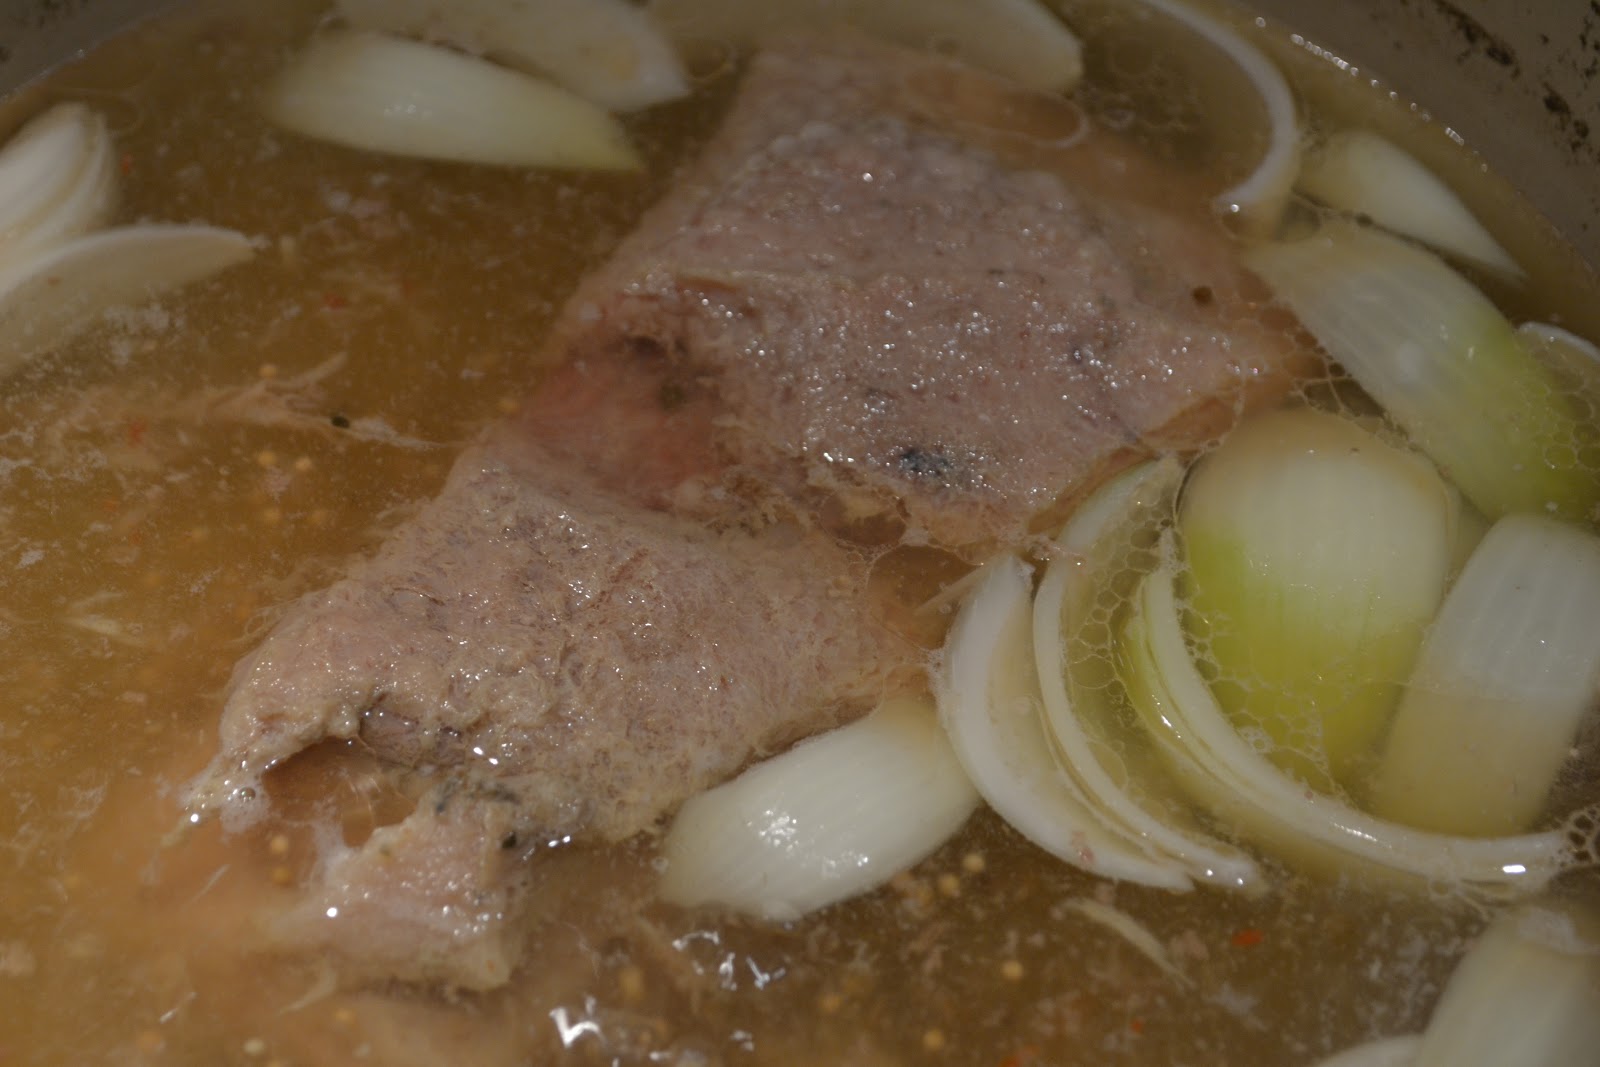
Add the corned beef brisket to a large pot. Make sure it's large enough to hold all your veggies too. Cover corned beef with cold water (about 1 inch above the top of the brisket). Add the bottle of beer, if you're using one, and the garlic. Bring to a boil, then drop the temperature to simmer. Cover and simmer 1 hour per pound of meat, or until the brisket is fork tender. For this brisket- about 2 hours.


While the brisket is simmering prepare your veggies. They will be dropped in 3 rounds before the cooking time is up.


First drop: about 60 minutes before the end of the total cook time add the rutabaga and onions. Bring to a boil, then drop the temperature back down to a simmer. Don't forget the lid. You probably learned how dense the rutabaga is while chopping it. They need a bit of time to absorb the water and become soft. You want the flavor of the onion to permeate. 


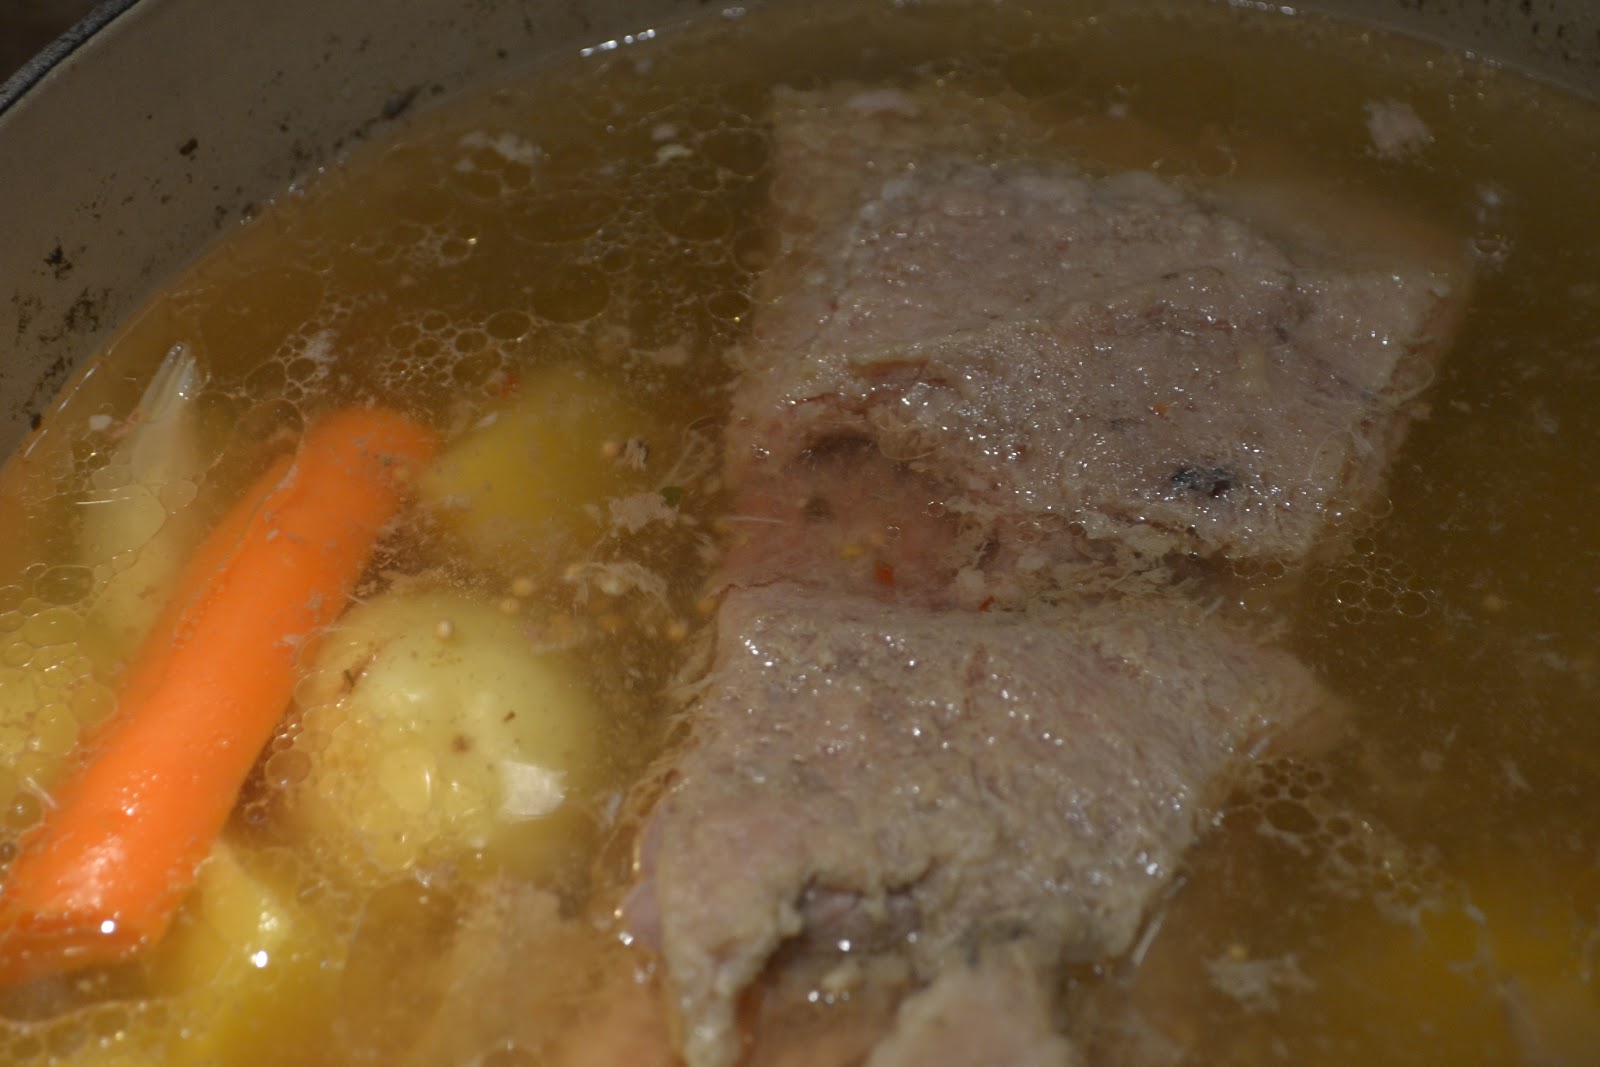
Second drop: about 20 minutes before the end of the total cook time, add the carrots and potatoes. (If you're using parsnips, add them as well). Put the lid on, bring to a boil, then drop back down to a simmer.


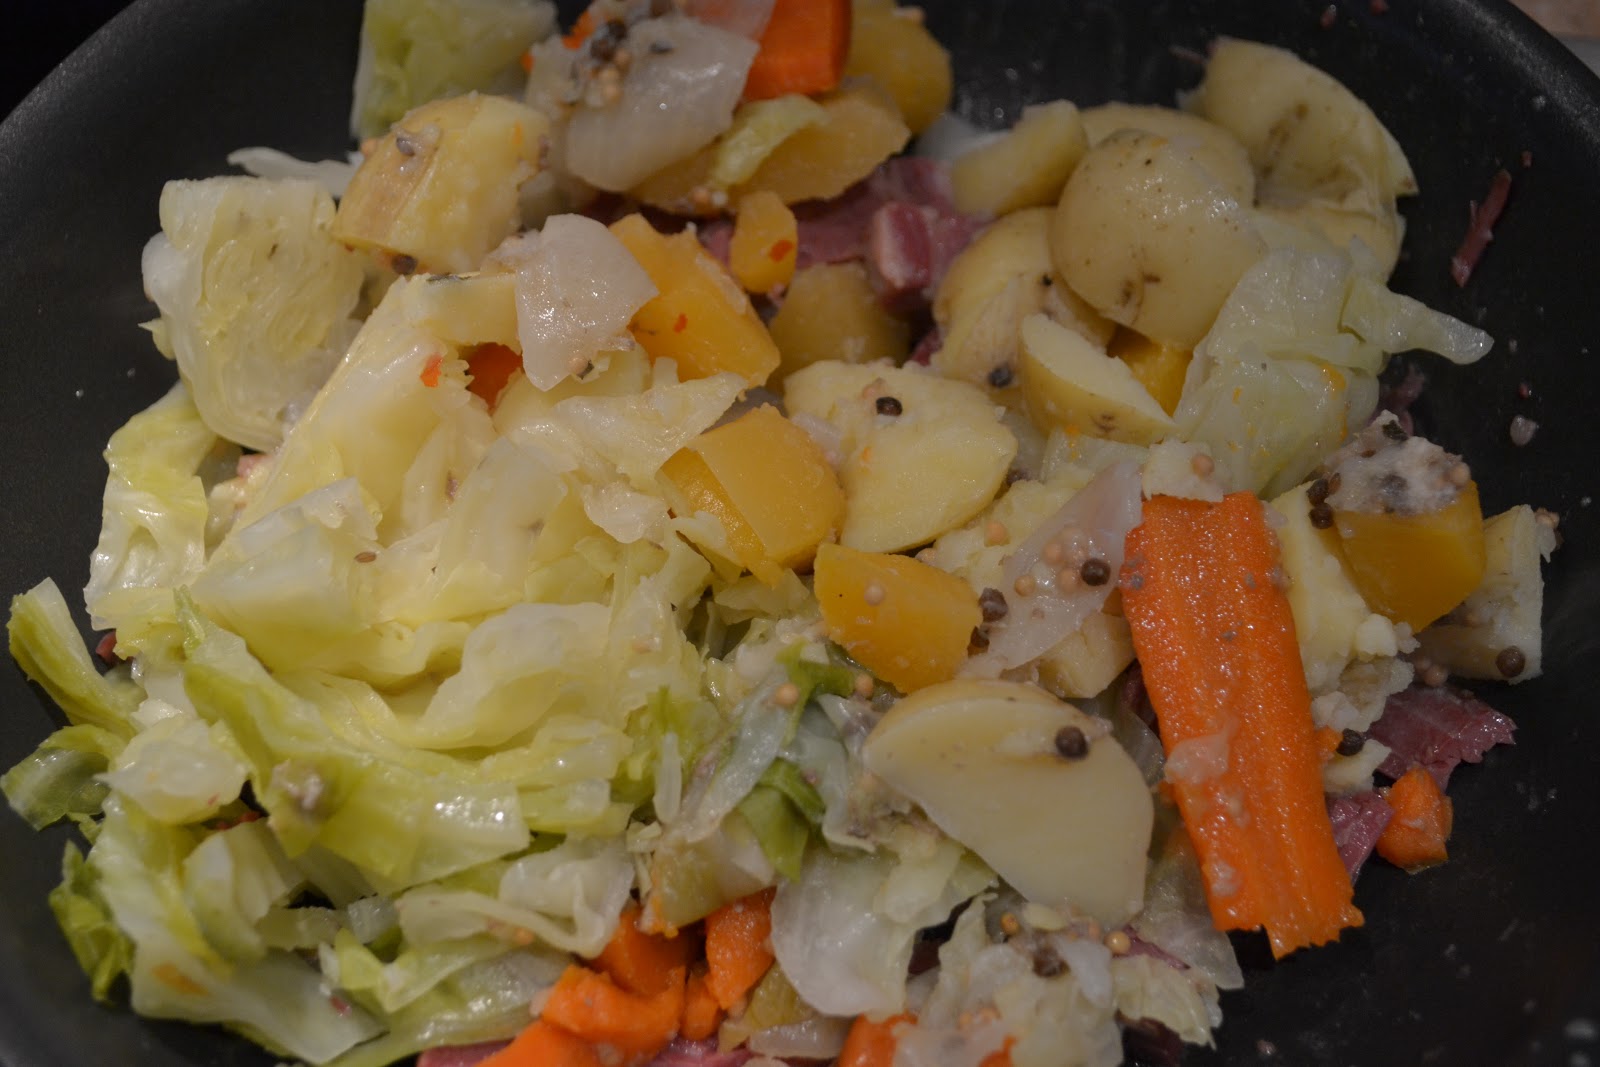
Final drop: About 10 minutes before the end of the total cooking time, (brussel sprouts first if you're using them) add the cabbage into the pot, wedge side down. The cabbage does not need to be submerged in the water, it can just lay atop of the brisket and veggies. Make sure there is ample room for the cover. Cover, bring to a boil. Drop the temperature back down and simmer until the cabbage is tender. Check that the brisket is also fork tender. You should be able to stick fork into the brisket and rotate rather easily. 
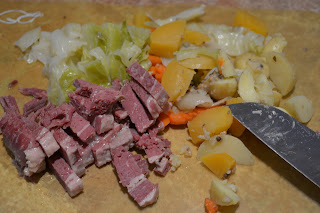


Corned Beef Hash

The best thing about making corned beef, is corned beef hash in the morning. Quick, easy, filling, and oh- so delectable. Making your own hash will far surpass anything you'll find in a restaurant or; dare I say... A can! (GASP!!) If you've only eaten corned beef hash from a can, you haven't eaten hash, plain and simple. Canned hash can only be described as salty dog food. I promise you will savor every morsel of your homemade hash, your pups will be jealous. 

Recipe:


1/2 tablespoon olive oil or butter

Leftover corned  beef and sides, coarsely chopped

1 egg per serving

1 slice of toast per serving


Put a pan on medium high heat. While the pan is heating up, rough chop anything you want to add to the hash. Most people only add potatoes and corned beef, I chop it all up!


When the pan comes to temperature, add the oil and corned beef. Sauté until the beef starts to get warm and releases some fat.


Add the vegetables on top and stir occasionally until heated through.


In a separate pan make the eggs the style of your choosing. I like "sunny side up" because you get a lot more of the runny yolk. If the hash comes to temperature before the eggs are done, drop the temperature to low. When the eggs are done, plate the hash with the eggs on top and a slice of toast on the side.


If someone in your family is vegetarian, you can omit the meat all together and drop the cooking time down to about an hour total, or cook the meat and veggies separately. Start the vegetables in a separate pot about an hour before the end of the total cooking time for the brisket, following directions for each drop listed. If you're cooking the meats and vegetables separately, make sure you have spices (and a beer!) for both.


Thursday, November 8, 2012

Eating Phat Is Eating Fresh

Eating phat is all about ingredients! 


The easiest way to take your food from ordinary to extraordinary is the addition of simple, fresh ingredients. Adding fresh produce or herbs to a recipe not only adds a pop of flavor, they also add much needed nutrients with little calories. Buying fresh, seasonal ingredients can save you money while allowing you live healthier. You don't have to spend a ton of money on brand name items to eat well. Buying fresh ingredients allows you to play with flavors and experiment with recipes.

You'll see many of these blogs entries will be about ingredients. Along the way I'll show you an ingredient, how to look for quality, and a couple ways to use it.


       The addition of just one fresh ingredient to a recipe can take it from dated to undeniably delicious.

Add a fresh chopped tomato and a couple leaves of basil to a canned tomato sauce to make it taste garden fresh.

Line the bottom of your stock based bowl of soup with fresh baby spinach for  a pop of green flavor and added vitamins.

Add a chopped fresh jalapeño to anything for a kick of spice and green, crisp flavor.


Fresh herbs really make a dish taste sophisticated, but they can be expensive. You can pick up fresh herbs at your local garden center for relatively cheap and keep them in a window all year around. A small starting investment to boost your recipes and save you money in the long run! Fresh herbs pack a lot more flavor than their freeze dried, bottled counterparts. 

Not a particularly a green thumb or you prefer to buy your fresh herbs? When you get home from the grocery store, cut a bit off the bottom of the stems, put the herbs in the refrigerator in some water (like you would fresh flowers). Make sure you change the water every couple of days. This will make your fresh herbs last up to 2, maybe even 3 weeks!


Using your leftover fresh ingredients

At the end of the week, I find I have a few leftover fresh ingredients I have to use before they go bad. I try to develop recipes to use them all in one go. The best way to do this is with a soup or stir fry. Alternatively, you can add some your leftover fresh ingredients to a store bought soup or curry. Don't be afraid to experiment. This is your chance to figure out what flavor profiles you prefer!


Chop all your leftover veggies and throw them in a pan with a splash of soy sauce and a little oil. You can add in any left over herbs you like as well. Add chicken, beef, or tofu if you like and sauté. Once your veggies are tender and your meats are cooked (if you added them), pour over rice!

Add your leftover chopped veggies, a little oil, and a protein (if you wish) to a pot. Salt, pepper, and any fresh herbs you may like to your taste. Stir regularly until your veggies are almost tender and your protein is cooked, if you added one. Dump in a can or two of any stock. Add a handful of small cut pasta, like stars, fuisilli, or macaroni. Bring to a boil until pasta is cooked. Freeze any leftovers and eat them later!

All those leftover store bought herbs? Don't throw them out! Chop them all into a fine confetti. Blend together a package of cream cheese, a half a stick of butter, salt, pepper, and garlic to taste. Blend until smooth. Stir in your herb confetti to make a delicious homemade boursin cheese spread! Delicious on crackers, sandwiches, baked potatoes; even a dollop in some soup! Just spoon into an air tight container and refrigerate. Homemade boursin cheese spread is a great way to get rid of those extra herbs you have on hand and impress some guests!

Thursday, October 25, 2012

Lamb Sausage and Pepper Subs

My updated take on an old carnival classic

Last weekend, while at the farmer's market, I came across some lamb sausage at the Prather's stand. Everyone knows foods made of baby animals taste a million times better in sausage form. How could I resist? Lightly caramelized onions and baby sweet bell peppers bring out the dynamic flavors in these lamb sausages. I finish mine off with a little brown spicy mustard to enhance the smokiness of the sausage.


Who doesn't love sausage and peppers? If you don't, you're no friend of mine! The sweet aroma of softened onions brings me back to my childhood. It reminds me of going to the fair at the end of the summer with my dad. I used to love sitting on a bench watching the cooks juggle and sauté huge mounds of onions and peppers over a griddle. Here is my tribute to those summer nights and those sausage and peppers!

Recipe:


Makes 2 servings, about 600 calories each

1 cup Onions, sliced

1 cup Sweet bell peppers, sliced

2 Lamb sausages

2 Sandwich rolls

1 tablespoon Olive oil

Salt and pepper to taste.


Slice your onions and peppers. Throw the onions in a small pot with the olive oil over medium heat. Add a little salt and pepper and cover. Stir occasionally.


In the meantime, put your sausages on. I cook my sausages by adding enough water (or beer) to reach about halfway up the side of the sausages when they are in the pan. This makes them nice and juicy. 

Poke a couple holes on opposite sides of the sausage to allow the liquid to escape. Boil on high until the liquid evaporates. Turn occasionally.

Turn the heat down to medium and brown the sausages.


Cook the onions until they are soft, translucent, and have a sweet smell. This takes about 20 - 30 minutes. 

If you want more them more caramelized, by all means, cook them longer!


When the onions are lightly caramelized, throw the sliced peppers and cooked sausages on the top. Cook covered, stirring occasionally. 


Cook over medium heat until the peppers are to their desired tenderness.


                 Throw 'em in a bun and top with  mustard, or your favorite condiment! Hells yes!

Wicked Good Pumpkin Muffins

It's that time of year- pumpkin flavored EVERYTHING!


Living in California, I find myself missing the crisp New England autumn, the smell of the freshly fallen leaves. Fall and the holiday season tends to make me homesick. I find the best cure are my Wicked Good Pumpkin Muffins. 


These muffins embody everything I miss about New England autumn. The bold orange color of the pumpkin reminds me of autumn leaves. Ginger and coriander bring back that feeling of brisk autumn air freezing your lungs as you take a long, deep breath. Cinnamon and nutmeg; the warmth and laughter of my mother's kitchen, gearing up for fall festivities. 


This is a food that makes me feel right at home, even when I'm sitting on the beach. These muffins bring me joy. I hope you find joy in them too.

Recipe:


Preheat 350
Bake time: 13-15 min for muffins, 40-50 min for bread loaf
Makes: 12-16 small muffins or 2 bread loaves
Each cupcake sized muffin contains about 143 calories


7oz Pumpkin puree

2 Eggs

1/2 cup Vegetable oil

1/3 cup Water

1 1/2 cup Sugar

1 3/4 cup All purpose flour

1 teaspoon Baking soda

3/4 teaspoon Salt

1/8 teaspoon coriander

1/2 teaspoon each Cinnamon, nutmeg, cloves, ginger


In a large bowl, blend the dry ingredients together until evenly incorporated. In a separate large bowl, wisk together the wet ingredients. Add the dry mix to the wet, about 1/3 at a time.


Be careful not to over mix. Only mix until the dry ingredients are incorporated. 


Prepare your muffin tin by lightly spraying it lightly with canola oil or lightly coating it with an oil soaked paper towel. 

Pour batter into muffin tins about 2/3 of the way full. Wipe away any excess that falls around the edges. 

Set it on the center rack of your preheated oven.

Cook 13-15 min for cupcake sized muffins


In the last 3-5 minutes of baking, keep a good eye on your muffins. Its very easy to over cook them. I cook them until they puff up all the way, but are still a little soft at the top. They will glisten slightly.


After cooling the top will be moist and sticky, almost like a glaze.

Eat them warm out of the oven, or with a dollop of butter the next day. You'll find these muffins are better after they sit overnight. It allows the spices to fully flower. Store in a ziplock bag on your counter for up to 5 days or in the freezer to prolong their shelf life.


ENJOY!


A Phat Beginning


Welcome to Eat Phat, Live Happy

I created this blog to share my love of food and cooking. Here you'll find recipes, ingredients, and delicious restaurant finds. Please feel free to post comments, suggestions, your own spin on my recipes, or funny stories!

This is my life in food. Enjoy.